Teaming Broadcom NICs in Hyper-V
In a past post, I have written about Hyper-V networking and how to configure. Since Hyper-V’s architecture allows individual vendors to leverage their own software for networking and storage, depending on hardware configurations, each Hyper-V installation will be different. Here are some specifics around Hyper-V networking using the Broadcom Advanced Control Suite software.
After installing the software from Broadcom, Launch the Broadcom Advanced Control Suite to begin creating a Networking Team.
Switch the Filter to TEAM VIEW and right click on Teams and choose Create Team. 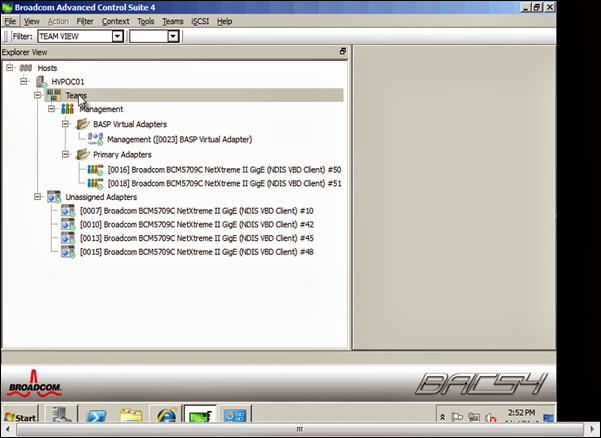
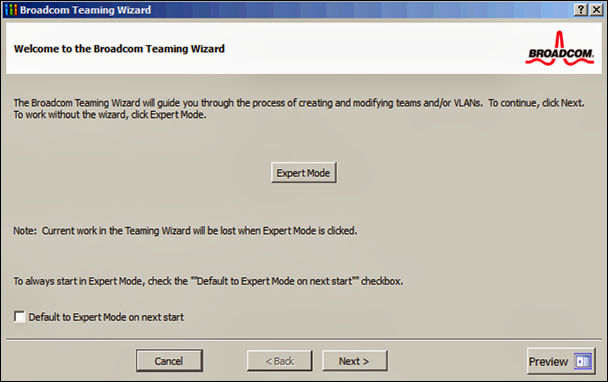
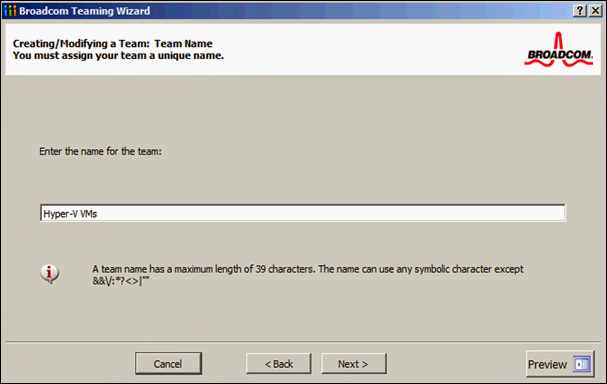
In this example, I am creating a NIC team to support production traffic for the Virtual Machines.
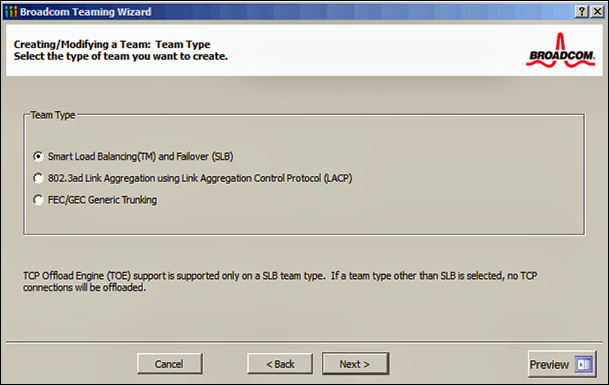
For this particular setup, I chose Smart Load Balancing. LACP would have required port configuration on the switches and could have yielded better performance but I opted for the less complicated route for this post. 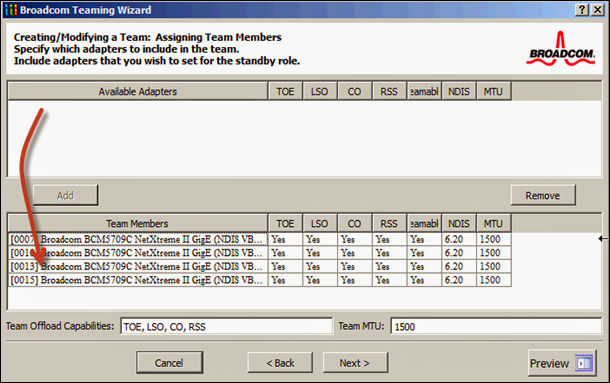
Add the available adapters to the team. 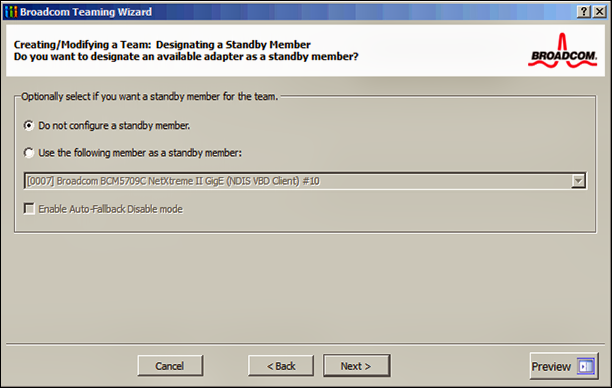
You can choose to keep all adapters active or create a standby member. 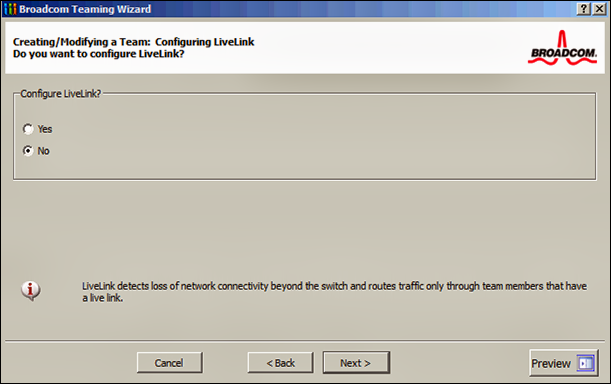
LiveLink is similar to beaconing in vSphere. It will periodically send a probe packet from one member NIC to another to verify that the link is in fact responding to requests. This can help minimize the downtime due to the spanning tree loop determination when failing over. 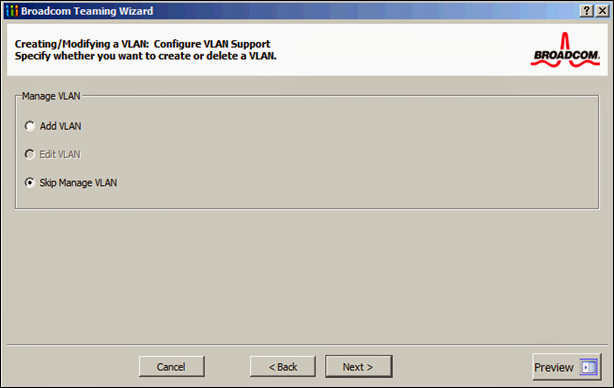
This screen is where you could have added VLAN tag support. it was not necessary in this case. 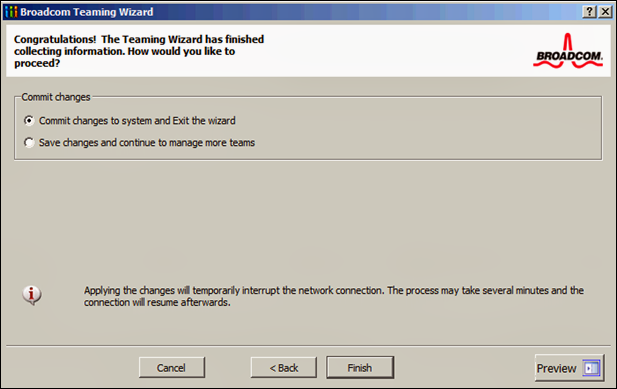
Commit the changes and the Virtual NIC Team will be created within Windows. I typically rename the member adapters in order to associate them with the Virtual Team NIC. 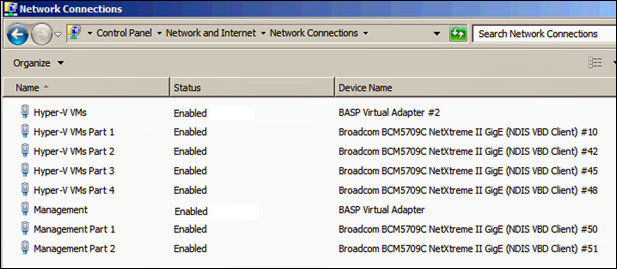
At this you can fire up the Hyper-V Manager and create your vSwitch pointing it to your NIC Team. 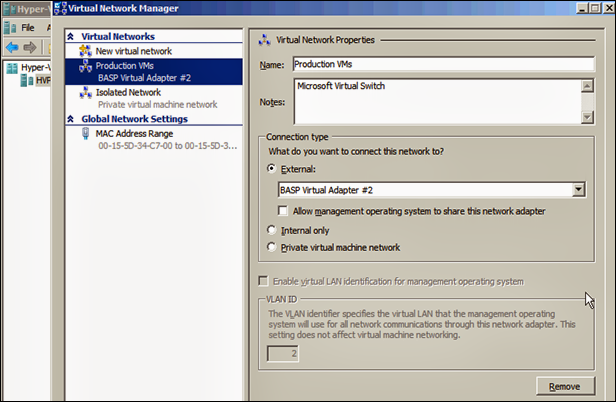
It would be great if it picked up the friendly name but for now, just match up the adapter description to ensure correct connectivity.

